
On this page I will demonstrate how to repair the padding on your lower seat cushions even though the rubber foam may have deteriorated significantly. The technique will restore the height and firmness of your cushions for just a few dollars and the use of common tools.
 |
Start by finding a work surface you can stand at comfortably that is about 3 times the width of the seat bottom. Cover it with a soft terry cloth if you are retaining your seat covers. Remove the machine screws that hold on the seat runners. |
 |
Unstaple the seat covering from three sides leaving the back edge still attached. |
 |
Removal of cotton padding covering the foam. |
 |
Manufactures stamp on seat foam padding. |
 |
Additional embossed stamp on cushion top. |
 |
Writing and markings on cushion sides. |
 |
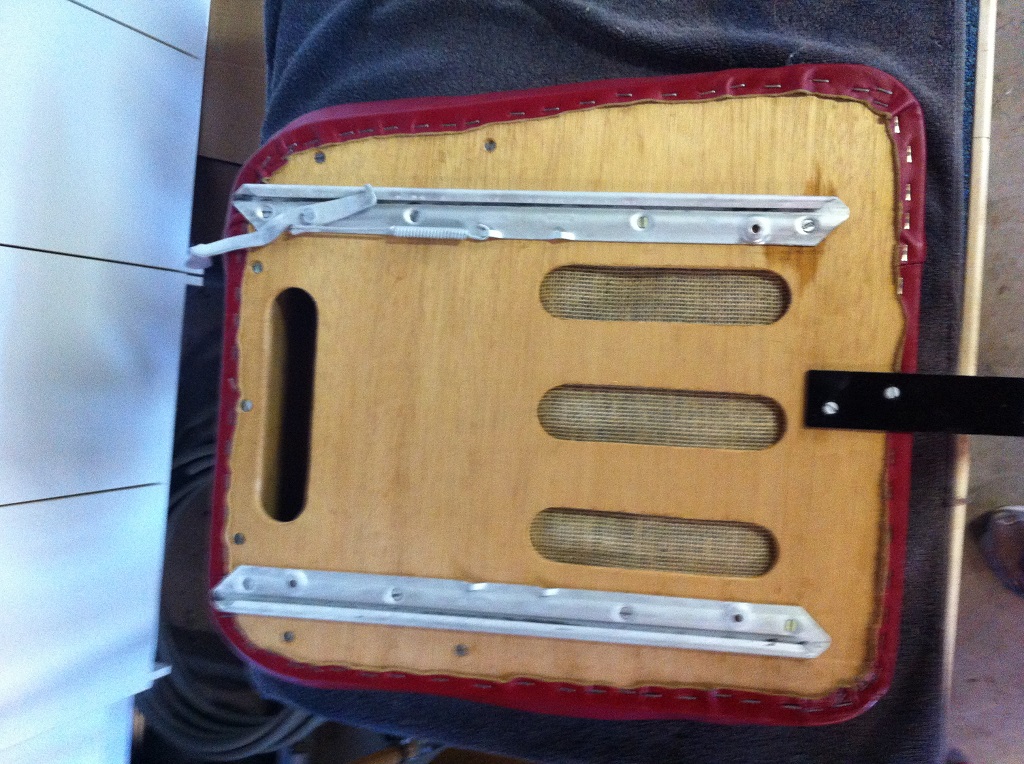
Detach cloth tape holding the cushion to frame but leave it attached at the front. Flip the foam forward to revel the leg support. You now have access to the underside of the foam. |
 |
Note the condition of the seat cushion foam. The brown areas are all broken down and if you touch them they disintegrate. These areas have no support and you will bottom out if you press or sit here. These are the areas we are going to repair. |
 |
You will probably need to replace the burlap too. In order to do that you will have to unscrew the woodscrews on the underside of the frame to separate the leg rest. |
 |
Remove the staples holding the burlap on and cut a new piece of burlap. You can reuse the staples you just removed or insert new ones. Make sure they are not longer than 1/4". Reattach the leg rest with the wood screws you removed. |
 |
Using a razor knife and your fingers remove all or most of the rotten foam. It does not have to be a perfect job. The bottom should be at the same height and the opening needs to be a rectangle. |
 |
This is the secret part. You are going to replace the rotten foam with a high density closed cell foam. I used a 1 1/2" thick garden kneeling pad, doubled up, to fill my holes. You can use whatever thickness you can obtain but it will have to equal the depth of the material you removed. There are various chambered open and closed cell foams that could be used too depending on the firmness you choose. Since most of the damage will be in the sitting area, the softer sides will still be intact giving an overall comfortable seat when using this technique. I would suggest that you obtain a few foam pads and sit on them to determine the firmness you desire. The softer pads will result in a more comfortable seat which will be desirable if you use your car for longer periods. |
 |
Cut the replacement foam pieces to the area you did the surgery on. You may need to add multiple layers of foam to fill the cavity. You can either hot glue them in place but I was able to press fit mine into the cavities and they held in place even when I turned the pad upside down. Just make sure they don't fall out or shift. |
 |
Flip the pad back onto the support frame and tack any edges of the support strapping you had to remove. This will help keep the pad in place when you pull the cover over it. You could use duct tape here around the edge if needed. |
 |
Replace the cotton covering/padding. Be sure there are no lumps. |
 |
Pull the cover over the seat frame and padding. Now is the time to check for any lumps or miss placed padding. Smooth everything to your satisfaction. |
 |
Starting from either corner where you left the cover attached, begin to reattach the cover. I used a staple gun with stainless steel staples. |
 |
Pull the cover back into position trying to align each hole or staple to the exact position it was in. Pay attention to any folds that may be needed or that were there before. After a few inches move to the other side so you work your way up to the front side by side. Near the front you may need to press down on the seat bottom to get the cover into position properly. |
 |
Keeping fastening until you complete the attachment at the front. When you have about 4 inches remaining make sure you finish with a smooth and non bunched up section. If you put the cover back in the same position as it was this should be easy. I used a tack hammer on each of my staples to drive them deeper so they are smooth and flush with the covering material. |
 |
Reattach the seat runners and seat back hinge with the removed machine screws. A drop of oil on any stubborn screws will help you overcome any small amounts of rust that could cause binding. |
 |
The completed seat ready to be reinstalled. |
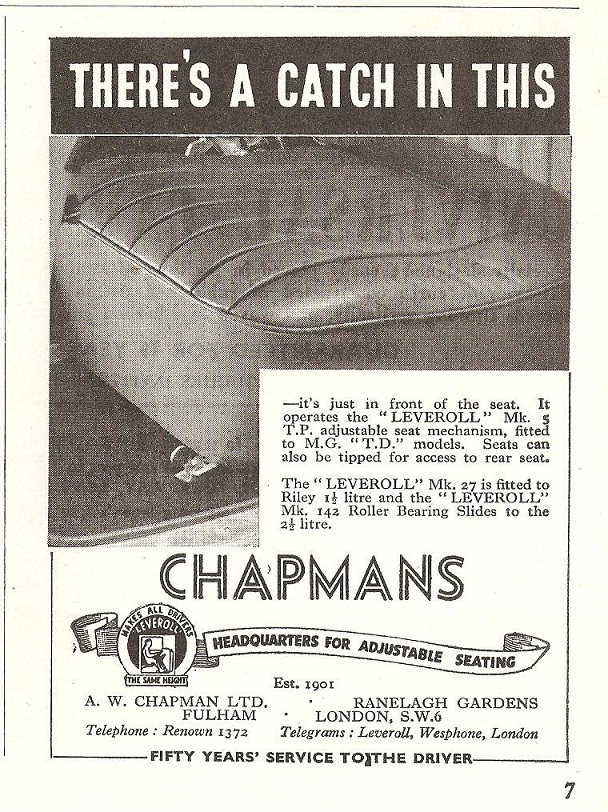
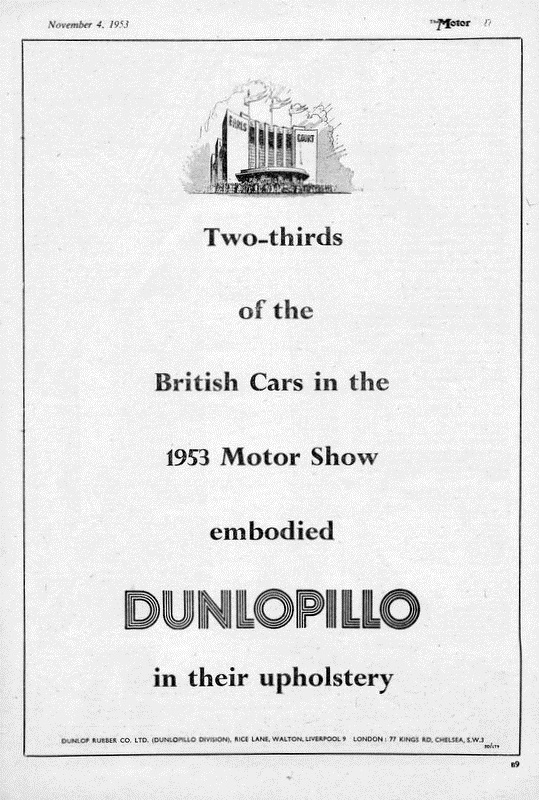
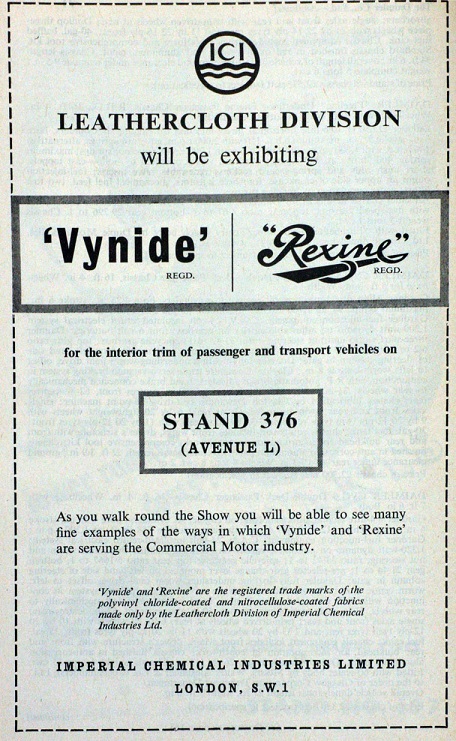
The following are advertisements from vendors who supplied some of the components of the seats for the MGTD/TF's.
 |
 |
 |
 |
Home | History | Details | Myths and FAQs | Literature | Entertainment | Gallery | Links | Map
| © 1999 - 2024 by Christopher C. Couper | Page last modified: 2022/03/28 |